Change of plane in a bush trip, supplements
In the "Change of planes" tutorial, we explained how to do a bush trip with the plane of your choice rather than the one proposed by the mission and which you are not used to flying.
Supplements No. 1: percentage of progress
we indicated that it was prudent to put the modified mission in the Community folder. The fault of this solution is that we lose the progress indicator (%) given at the end of each stage and at the end of the mission.
To keep this indicator, you must therefore leave the mission in its original folder (Official\OneStore).
Supplements No. 2: selection image
in the mission selector, even if you have changed planes, the mission image remains the same. It is not blocking, but you may prefer to see the selection image with the plane you have chosen.
To do this, you must create an image of your choice (your plane in a situation taken for example during the first step), size it with the following values: 675x535 pixels and the
name "Activity_Widget.jpg".
Example:
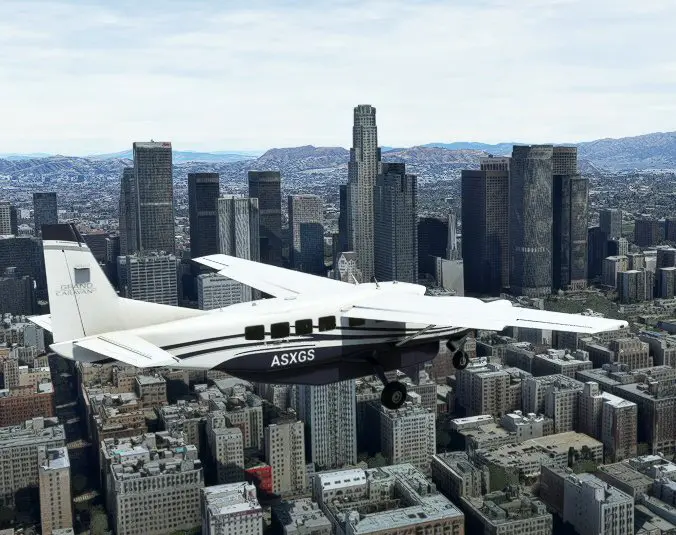
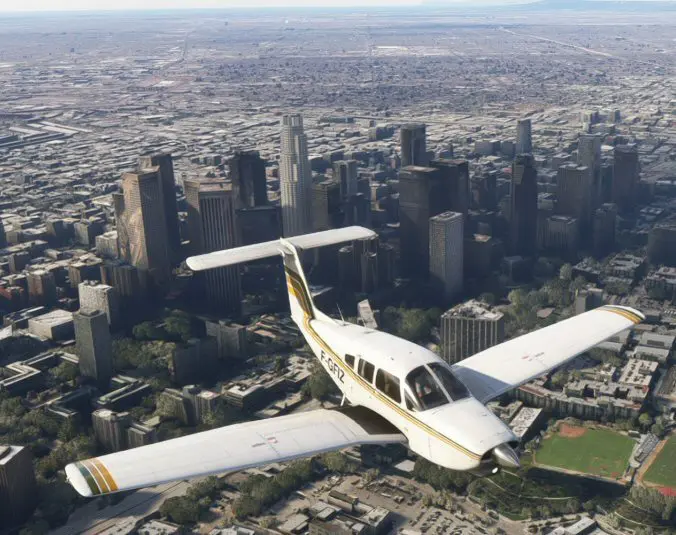
Original image of the "California Dream" mission selector with the Cessna Caravan and modified image with the Just Flight PA28 Arrow IV (F-GFIZ livery) taken during the 1st stage.


For it to appear in the selector, you will need to replace the original image located at this address:
...\Official\OneStore\your mission\Missions\creator\BushTrips\name\images\Activity_Widget.jpg
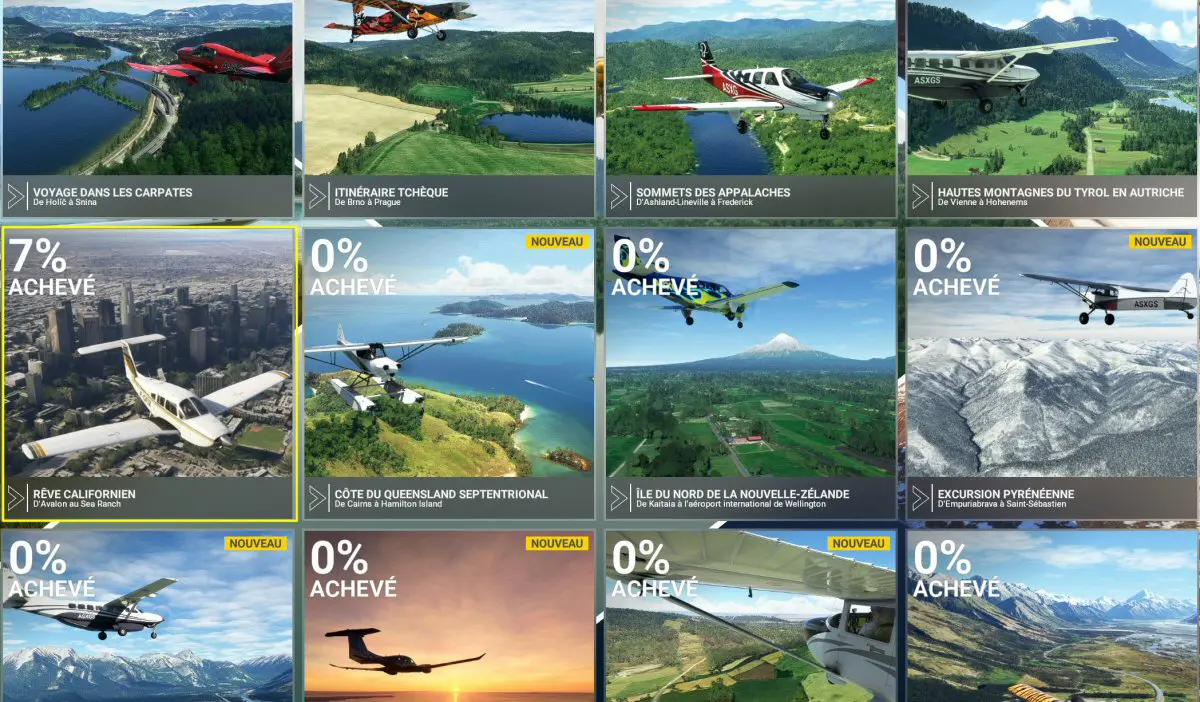
Which gives the following selection page (at the end of the first step in our Californian example):

NB: it is prudent to save the modified mission in case an MSFS update reinstalls the original mission.